Vesence is an add-in that brings an AI assistant directly into Microsoft Office. You install it once, sign in with your Microsoft work account, and start working without leaving Word, Excel, PowerPoint, or Outlook.
This guide covers installing Vesence as an individual, deploying it across an organization as an IT admin, installing it from a manifest file, signing in, and checking common access issues.
Where Vesence runs
Vesence works across Microsoft Office and on the web:
- Word — draft, review, and check documents.
- Excel — check, format, and understand workbooks.
- PowerPoint — improve and lay out slides.
- Outlook — check, improve, and shorten email drafts.
- The web app — work with your documents and the Vesence Agent in the browser.
Vesence works across Word, Excel, PowerPoint, Outlook, and the web. Depending on how your organization deploys it, the Office apps and Outlook may be added as separate add-ins — your IT admin can roll them out together so Vesence is available wherever you work.
For individuals
If your organization lets you install Office add-ins yourself, you can add Vesence in a few steps:
- Open the Vesence for Microsoft 365 listing on Microsoft Marketplace, also known as AppSource.
- Click Get it now to install the add-in.
- Open Word, Excel, PowerPoint, or Outlook.
- Open the Vesence pane.
- Sign in with your Microsoft work account.
After installation, you can open Vesence from the Home ribbon in Word, Excel, and PowerPoint, and from the message ribbon in Outlook.
The first time you open Vesence, sign in with your Microsoft work account. After that, you are ready to start working.
For admins
IT admins can deploy Vesence to an entire organization, specific users, or specific groups from the Microsoft 365 Admin Center.
To deploy from Microsoft AppSource:
- Visit the Microsoft 365 Admin Center at admin.microsoft.com.
- Go to Settings > Org settings > User owned apps and services.
- Make sure “Let users access the Office Store” is turned on.
- Go to Settings > Integrated apps > Add-ins.
- Search for Vesence in Microsoft AppSource.
- Deploy the add-in to your organization or to specific users.
Once deployed, team members open an Office app, open the Vesence pane, sign in with their Microsoft work account, and start working. No separate user installation is needed.
Install via manifest file
Show stepsHide steps
For IT administrators deploying to multiple users, Vesence can also be uploaded directly as a manifest file.
A manifest file is a small settings file that tells Office where to load the add-in from.
Step 1: Obtain the manifest
Request the Vesence manifest XML file from your Vesence contact or from Vesence support, then save it to a secure location.
Step 2: Access the Microsoft 365 Admin Center
- Navigate to admin.microsoft.com.
- Sign in with your admin credentials.
- Go to Settings > Integrated apps.
Step 3: Upload the custom add-in
- Click Upload custom apps.
- Select Office Add-in.
- Choose I have a manifest file on this device.
- Browse and select the Vesence manifest XML file.
- Click Upload.
Step 4: Assign users
Choose your deployment scope:
- Entire organization — all users get access.
- Specific users — enter individual email addresses.
- Specific groups — select security groups or distribution lists.
- Just yourself — use this for admin testing only.
Step 5: Deploy
- Review the deployment settings.
- Click Deploy.
- Wait for the add-in to become available.
The add-in is usually available within minutes. A full organization rollout can take up to 24 hours.
Step 6: User access
Users will see Vesence appear in the Office ribbon. In Word, Excel, and PowerPoint, it appears on the Home tab.
First-time users sign in with their Microsoft work account. No additional installation is required by users.
Signing in
Vesence signs you in with your Microsoft work account using single sign-on. This is the same login you already use for Microsoft 365.
This is sometimes called Microsoft Entra ID or Azure AD.
There is no separate Vesence password.
To sign in:
- Open the Vesence pane in any Office app, or open the Vesence web app.
- Sign in with your Microsoft work account when prompted.
- Continue working in the Office app or web app.
Your organization’s existing security and access controls apply automatically.
See Security and Data for how Vesence handles authentication, local storage, connected systems, and your information.
Use Vesence on the web
In addition to the Office add-in, Vesence has a web app where you can work with your documents and the Vesence Agent in the browser.
You sign in to the web app with the same Microsoft work account.
Use the web app when you want to work across files, use the Workspace, or handle a task that does not belong inside only one Office document, workbook, presentation, or email draft.
See Use Vesence on the Web for more information.
Microsoft 365 access and permissions
Many Vesence workflows depend on Microsoft 365 access.
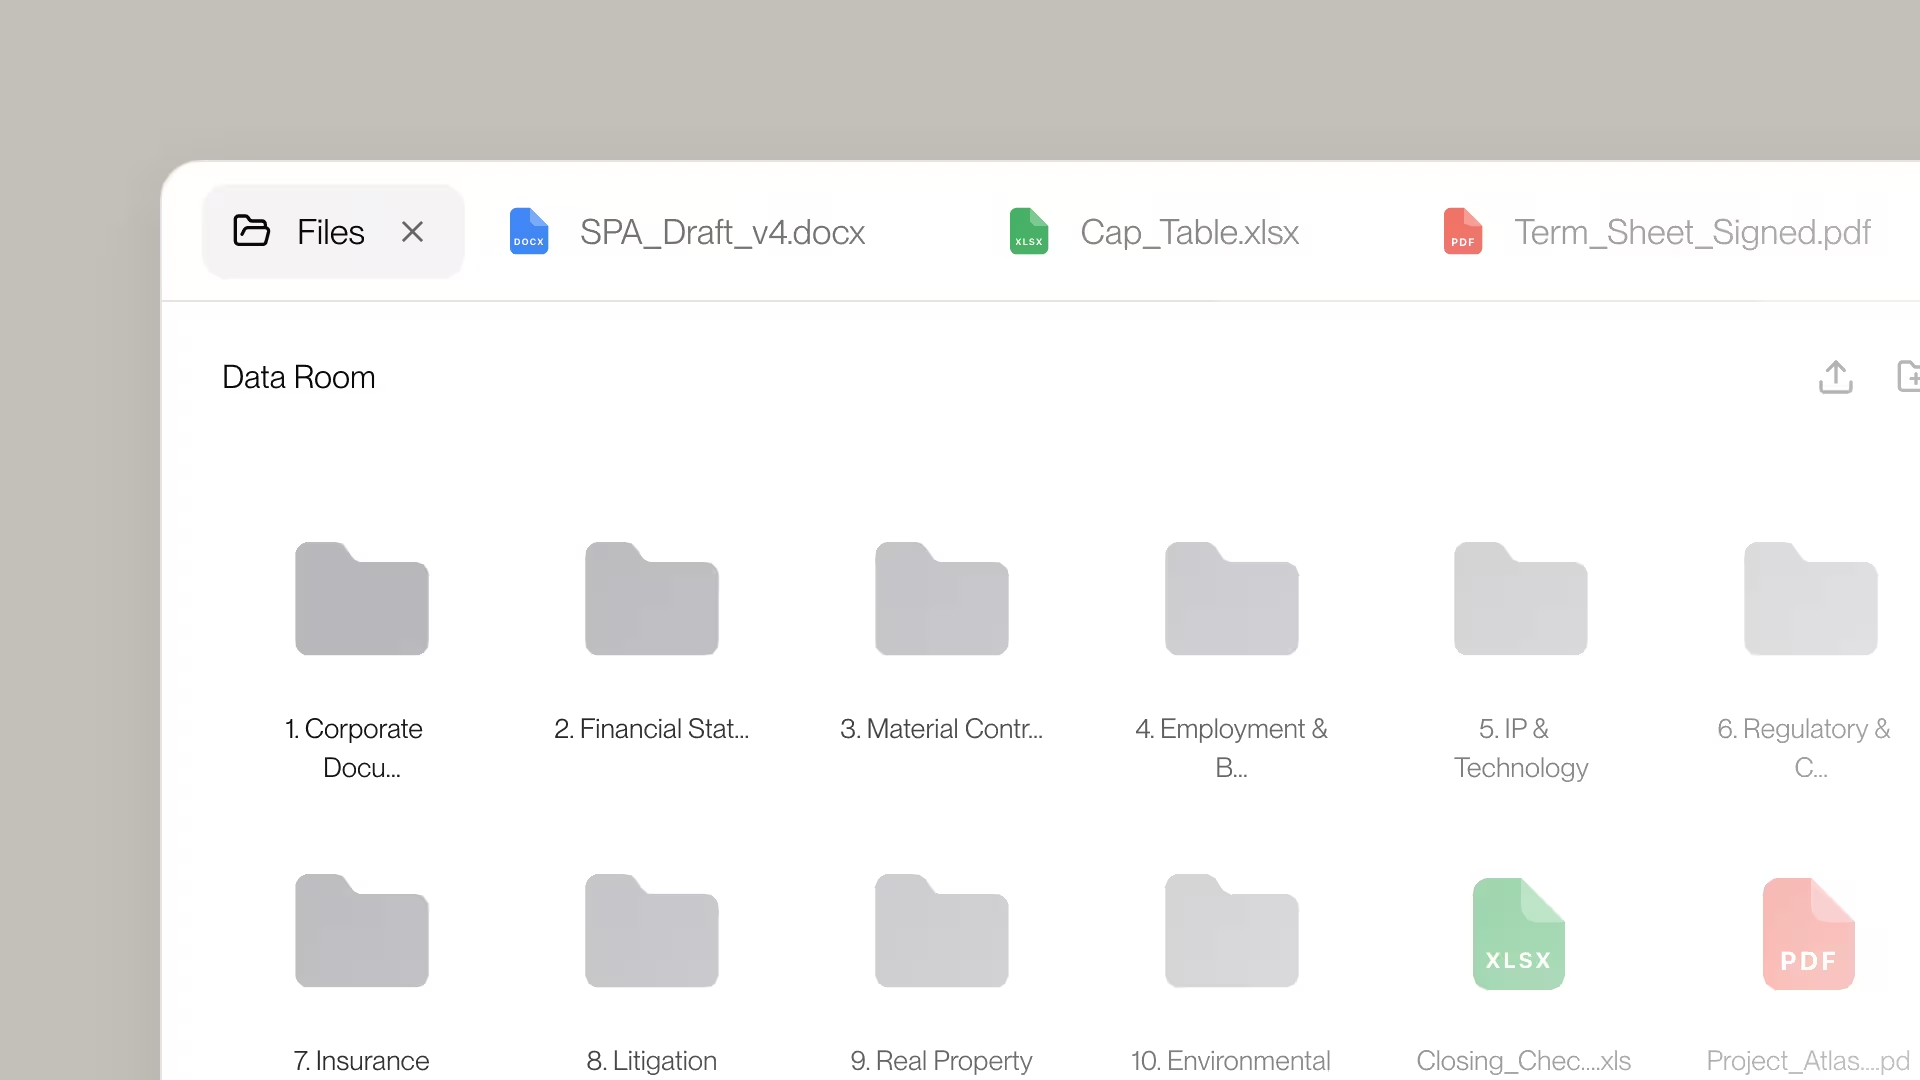
Depending on setup and permissions, Vesence may work with Word documents, Excel workbooks, PowerPoint presentations, Outlook emails, Outlook calendar, Teams chats, Teams-shared files, SharePoint files, and OneDrive files.
The user’s permissions matter. Vesence should not be expected to access files, folders, mailboxes, chats, or calendars that the user cannot access.
Vesence can work with materials and systems the user makes available to it, subject to the organization’s permissions and the relevant workflow.
See Organization settings below for how admins grant and manage this access and these permissions.
SharePoint, OneDrive, Outlook, and Teams
Vesence can work with connected Microsoft 365 systems where access is available.
- SharePoint and OneDrive let Vesence find and work with cloud files. Vesence can search, list, download, analyze, edit, create, rename, move, delete, and stage files or folders where the connected account has the necessary access.
- Outlook lets Vesence work with emails, attachments, drafts, folders, recipients, subject lines, and calendar information where supported.
- Teams lets Vesence work with Teams chat context and shared files where available.
- iManage and NetDocuments let Vesence work with files in a connected firm document management system — attaching documents as source material and saving work back where supported. These are optional integrations enabled per organization.
Changes to SharePoint, OneDrive, and connected document management systems are controlled through staging or save-back where supported. Vesence can prepare changes, but the user remains in control of publication.
Communications such as emails, calendar invites, and Teams messages remain under user review or approval where supported.
Organization settings
Organization admins configure Vesence for everyone on the Organization Settings page in the Vesence web app, opened from the user menu in the sidebar. The most important sections are shown below — each demo is the real settings interface, so you can click the controls to see how it behaves.
Integrations
Integrations control which Microsoft 365 systems Vesence may use — SharePoint and OneDrive, Outlook mail and calendar, and Teams — plus optional document management systems such as iManage and NetDocuments. Each row shows whether access is connected and lets an admin grant it.
Integrations preview
ShowHide
Integrations
SharePoint
SharePoint (read & write)
Outlook Mail (read)
Outlook Mail (read & write)
Outlook Calendar
Teams Chat
Teams Chat (read & send)
iManage
NetDocuments
Grant the Microsoft 365 access each workflow needs. Grant for me applies to your account; Grant for org applies to everyone.
- Open Organization Settings from the user menu in the web app sidebar, then find the Integrations section.
- For a system you want to enable, press Grant for me to allow it for your own account, or Grant for org to allow it for everyone (this requires admin consent).
- The status changes to Connected once access is granted.
- For NetDocuments, choose your region from the dropdown. iManage is enabled by Vesence on request.
Members
Members lists everyone in your organization and lets admins manage who can change settings.
Members preview
ShowHide
Members
Anna Lindqvist
anna.lindqvist@example.com
Sofia Berg
sofia.berg@example.com
Erik Holm
erik.holm@example.com
Johan Falk
johan.falk@example.com
Admins can change organization settings and manage other members. You cannot remove your own admin role.
- Open the Members section to see everyone in your organization, with their name, email, and role.
- To change someone's role, use the dropdown and choose Member or Admin. Admins can change settings and manage other members.
- You cannot remove your own admin role.
- Press Save changes to apply.
AI providers
AI providers set which model providers Vesence uses, and in what order. Every provider is configured with zero data retention, no model training, and no content filtering.
AI providers preview
ShowHide
AI providers
OpenAI
EU
Azure OpenAI
Sweden
AWS Bedrock (Anthropic)
EU
Order matters — the first provider that supports a requested model is used, later entries are fallbacks. All providers are configured with zero data retention, no model training, and no content filtering.
- Open the AI providers section. The numbered list is the order Vesence tries providers in.
- The first entry is the Default; later ones are fallbacks, used only if an earlier provider cannot serve a requested model.
- Use the up and down arrows to reorder, or the trash icon to remove a provider. Add one with the dashed + buttons below the list.
- Press Save changes to apply.
Web search
Web search lets Vesence look things up on the public internet. You control whether it is on, whether it uses live or cache-only access, and which domains it may use.
Web search preview
ShowHide
Web search
Web search
Live internet
Allowed domains (one per line, leave empty to allow all)
Bare hostnames, no scheme. Subdomains are included automatically.
Lets Vesence look things up on the public internet. Zero data retention applies only in cache-only mode; with live web access, search queries and results leave the ZDR boundary.
- Open the Web search section and set the toggle to On.
- Choose Live web access for real-time results, or Cache / offline only to keep queries inside the zero-data-retention boundary.
- Optionally restrict results by listing allowed domains, one per line. Leave it empty to allow all.
- Press Save changes to apply.
Supported versions
Vesence runs as a modern Office add-in.
To use it, you need:
- A Microsoft 365 work account
- Office on the web, Windows, or Mac with a current, supported build
- Permission to install or receive add-ins, either through self-install or admin deployment
Troubleshooting
Vesence does not appear in the ribbon
Make sure the add-in is installed or deployed, and that your Office build is up to date.
Admin-deployed add-ins can take up to 24 hours to roll out across an organization.
You cannot install Vesence yourself
Your organization may restrict the Office Store.
Ask your IT admin to deploy Vesence for you through the Microsoft 365 Admin Center or by using the manifest file.
Sign-in fails
Confirm that you are using your Microsoft work account and that your admin has allowed Vesence in your tenant.
If the problem continues, contact your IT admin or Vesence support.
Vesence cannot access a file or connected source
Common reasons include:
- The file has not been uploaded or made available.
- The user does not have permission to the file.
- The file is in a different account, site, drive, or folder.
- The integration has not been enabled.
- The file name or location is unclear.
- The relevant add-in or connected system is not available in that context.
Clear instructions and correct file locations help Vesence work more effectively.
Need help
If you run into trouble installing, deploying, or signing in, Vesence can help.
Contact Vesence support to request a manifest file, report an issue, or get help with installation and deployment.